
|
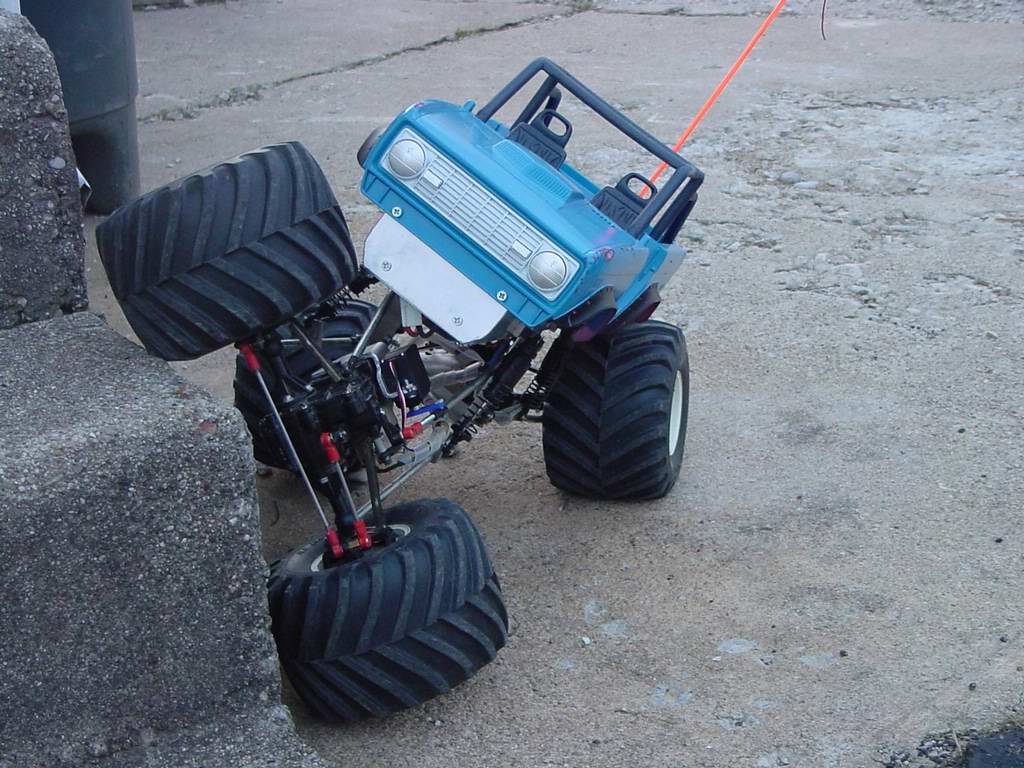
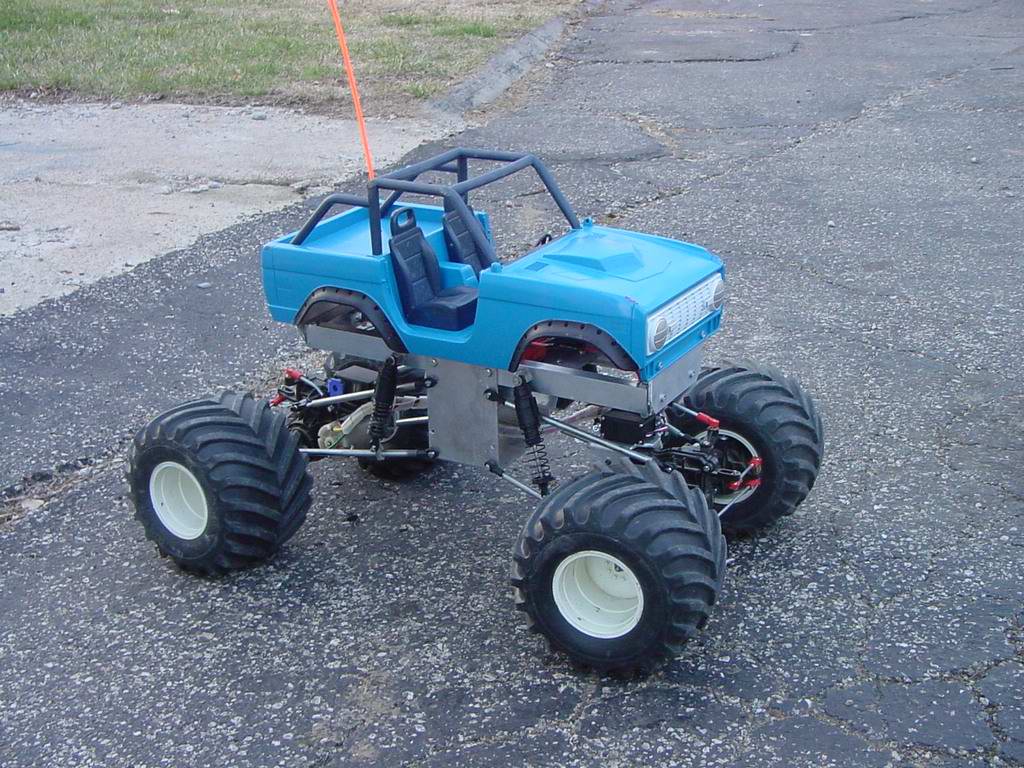
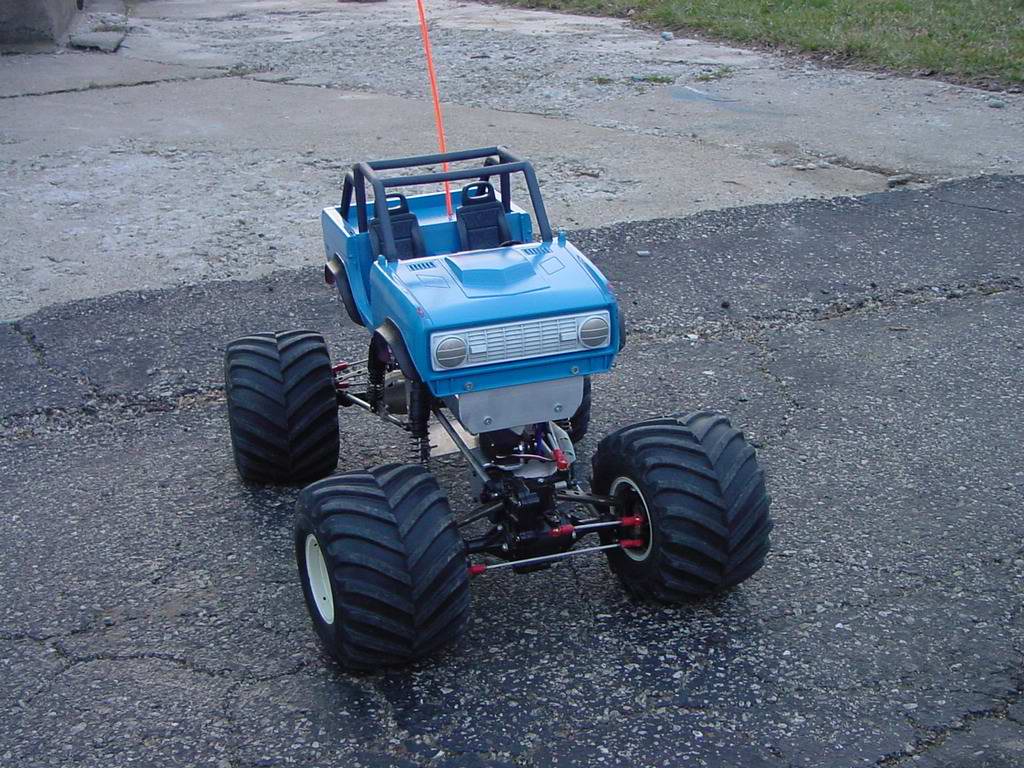
My Mangler is built on a Tamiya Clodbuster chassis. This chassis comes with dual motors, 4 wheel steering and
5" monster truck tires. The 2nd Mangler is on a Team Losi JR-X2 chassis. The body isn't mounted, it's just
there for show. I may mount the body on this chassis some day if I decide I want a high speed Mangler.
Future plans for the Clodbuster Mangler:
|
 mangler01.jpg |
 mangler02.jpg |
 mangler03.jpg |
 mangler04.jpg |
 mangler06.jpg |
 mangler07.jpg |
 mangler08.jpg |
Torn down to the tub.
Getting ready for the paint booth.

mangler04.jpg
ClodMangler Buildup - Stage 1
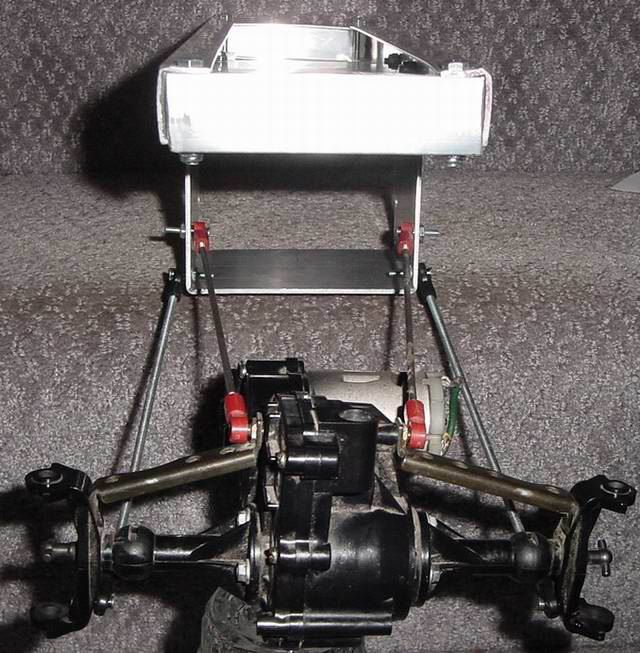
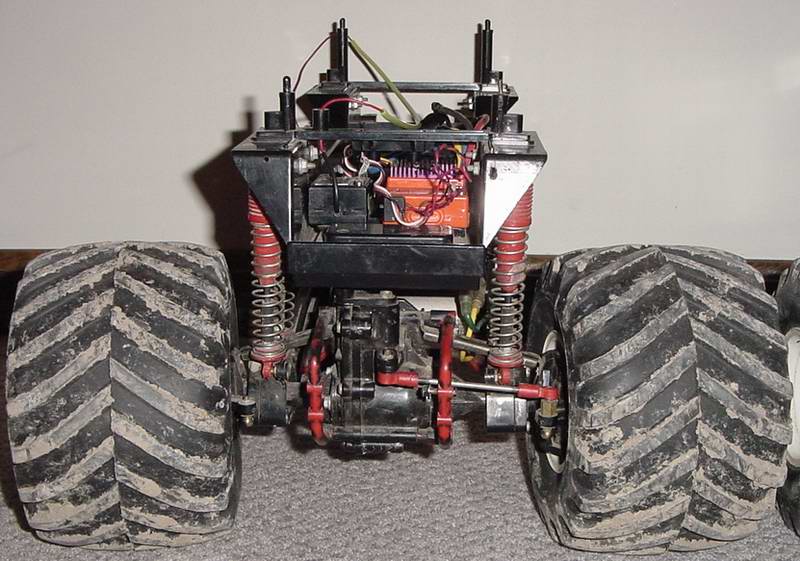
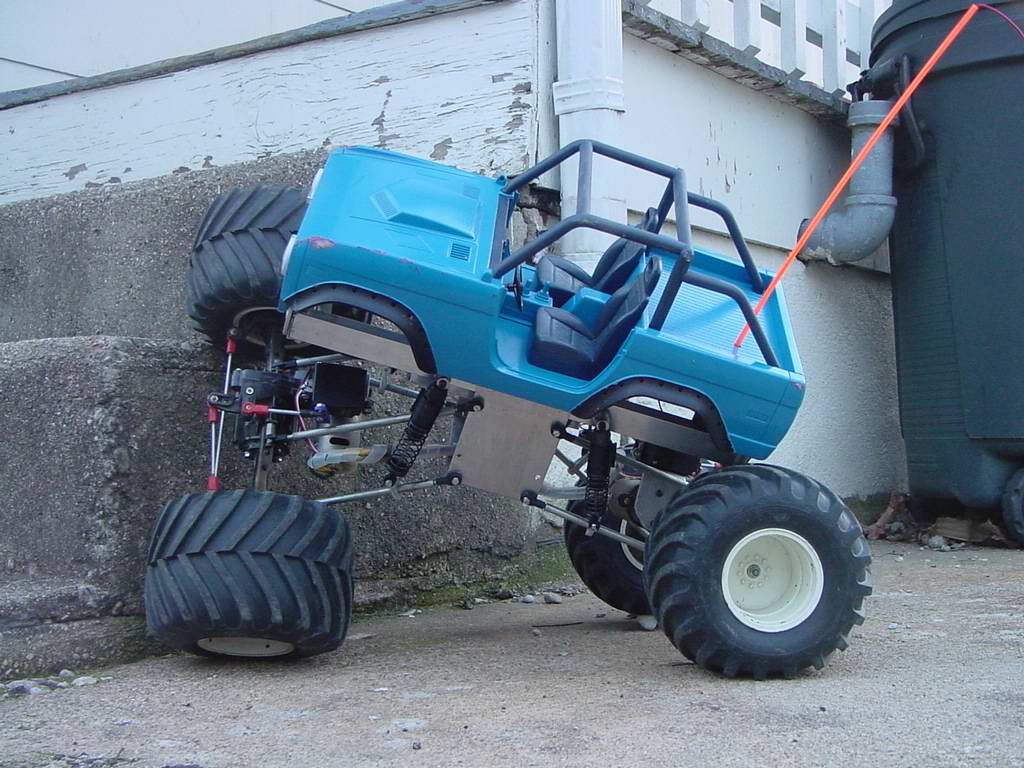
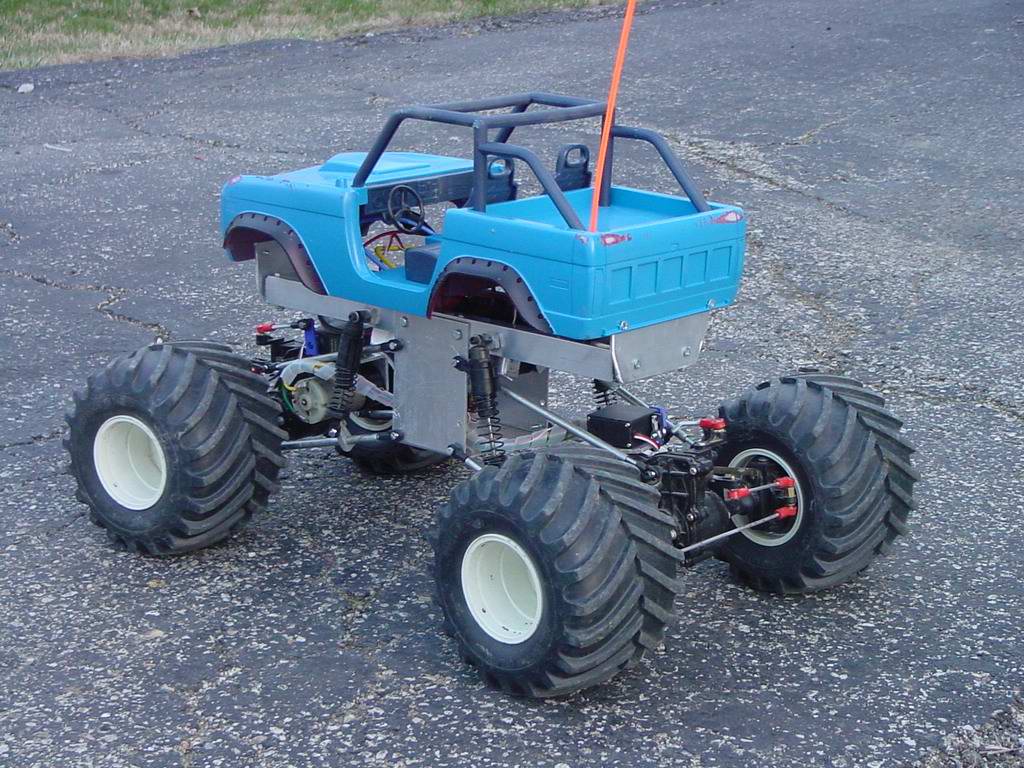
| I soon decided that I needed a lot more flex then the stock Clod Buster chassis would do, so I decided to build a custom aluminum chassis and a 4 link suspension for each axle, as well as long travel oil filled shocks. The chassis was made from 3/4" c-channel aluminum and 1/8" plate. I found some good places to mount the ends of my suspension links and I made up a test of the 4-link using threaded rod for the rods. |
 4linktest1.jpg |
 4linktest2.jpg |
 4linktest3.jpg |
 4linktest4.jpg |
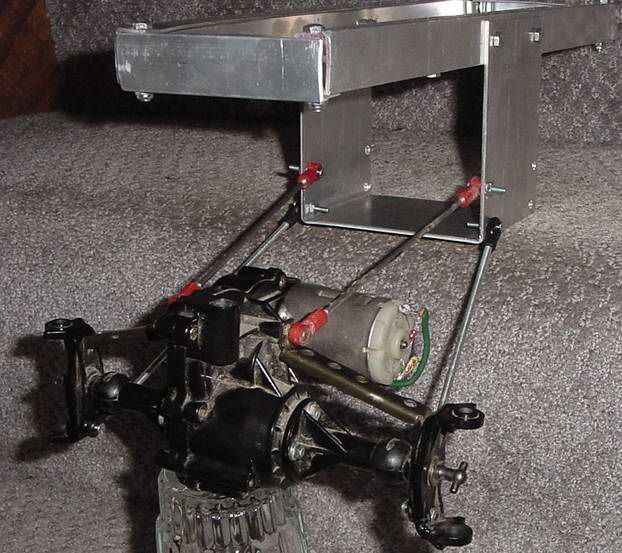
| My first attempt resulted in some binding when I tried to articulate. After playing with it a little I decided that I had the links too close together on the frame. The upper and lower links were traveling in different arcs which resulted in binding when one side went up and the other side down. For my next test I moved the top link up to try to get the same vertical spacing as I had on the axle. I also moved the connection to the outside of the chassis to reduce the side to side play in the axle. |
 4linktest7.jpg |
 4linktest8.jpg |
 4linktest9.jpg |
|
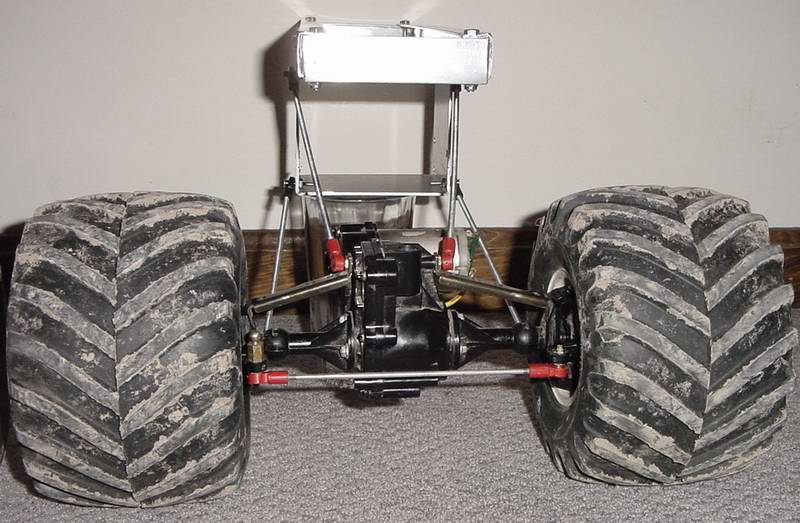
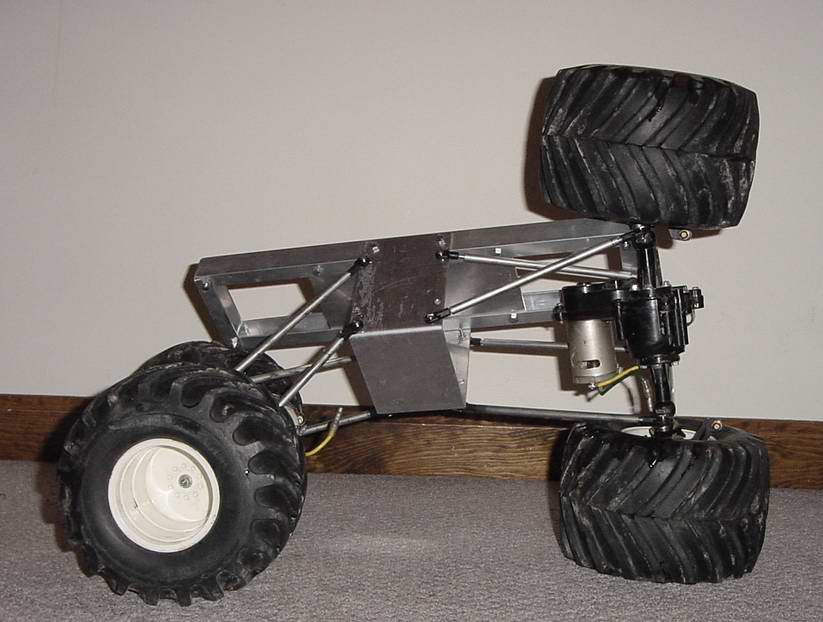
This setup seems to work a lot better. Next I need to build the rods for the suspension, build some mounts for my steering
servos, build some attachment points for the shocks, build my battery box and make some body mounts.
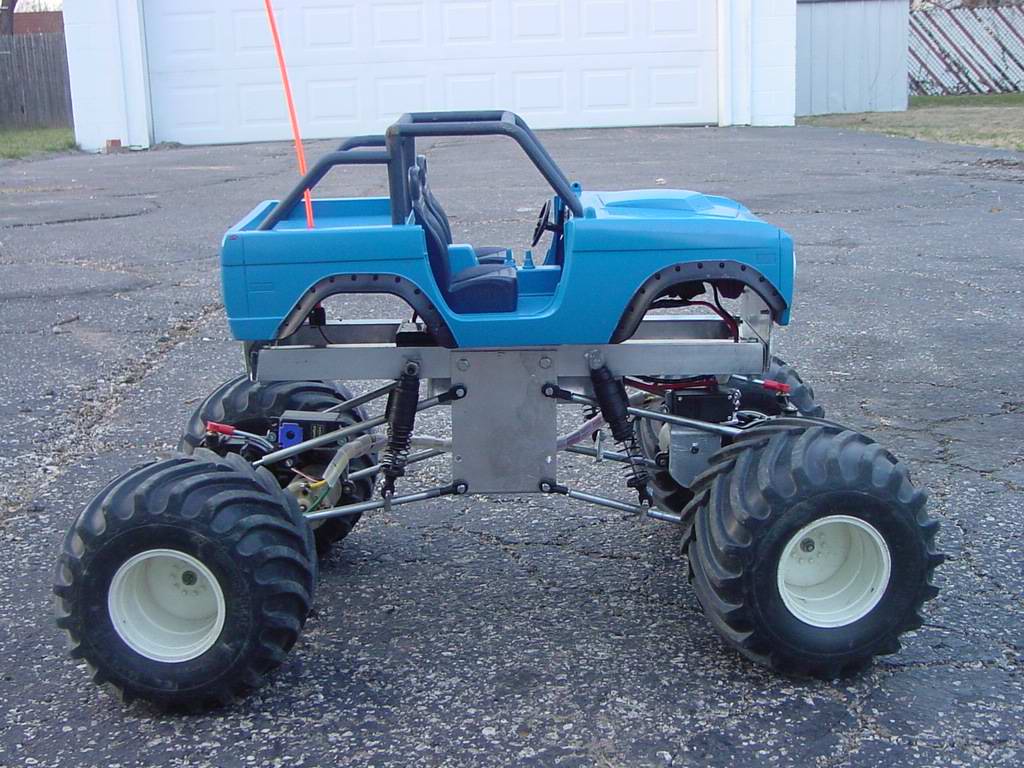
You can see it's a lot different from the stock chassis and should work a lot better. |
 4linktest6.jpg |
4linktest7.jpg |
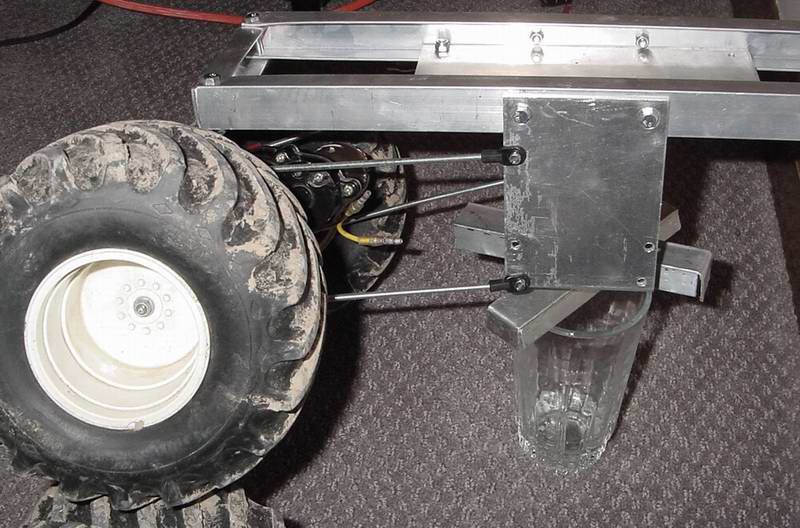
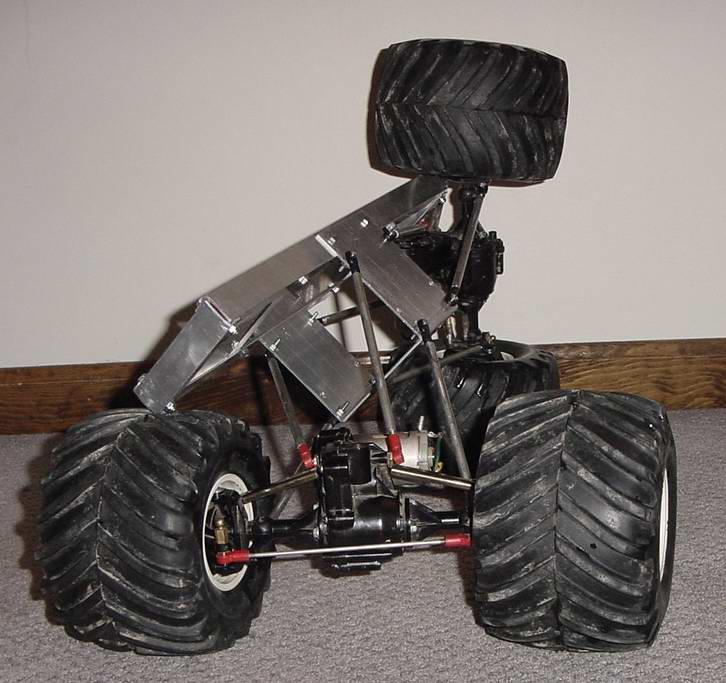
| I got the rods finished for the 4 link suspension. I also finished the other axle, so now I can see what it's going to look like. Looks like it's going to work great. You can see it's flexed to the point where the rear axle is completely vertical with the tire sitting square on the ground. I wish my real Bronco flexed this good. Of corse it won't be this good once I put shocks and the body on. But I know it's not the chassis and suspension design holding it back! |
 mangler09.jpg |
 mangler10.jpg |
More construction pics coming soon. |
 Mangler11.jpg |
 Mangler12.jpg |
 Mangler13.jpg |
 Mangler14.jpg |
 Mangler15.jpg |
 Mangler16.jpg |
|
CLODMANGLER01.MPG - 1.3 Megs CLODMANGLER02.MPG - 0.8 Megs CLODMANGLER03.MPG - 1.3 Megs CLODMANGLER04.MPG - 1.3 Megs CLODMANGLER05.MPG - 1.3 Megs CLODMANGLER06.MPG - 1.3 Megs CLODMANGLER07.MPG - 1.3 Megs CLODMANGLER08.MPG - 1.3 Megs CLODMANGLER09.MPG - 1.3 Megs CLODMANGLER10.MPG - 1.3 Megs |